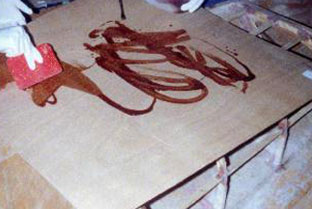
Resin is poured onto the inside of the tank panel which was dry-fitted to ensure it will go on without trouble.
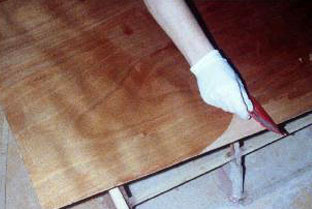
The epoxy is squeegeed out. It seals the inside surface, adds strength to the curved tank, and prevents resin starved joints in the tank-deckbeam fillets.
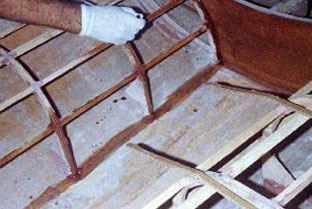
The tank beams are first coated with unthickened resin.
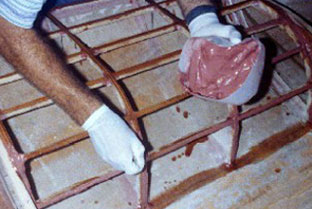
The tank beams receive a layer of epoxy thickened with microballoons and colloidal silica. The thickened resin serves two purposes when the tank panel is stapled down: the bulk of the thickened resin oozes out to form a fillet and any remaining resin bridges small gaps.
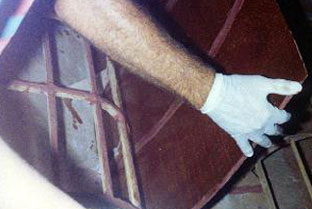
The tank panel is first placed against the tank beams at the cockpit floor, then stapled and rolled onto the tank beams. Lots of micro balloons in the resin keep it from running out of the joints.
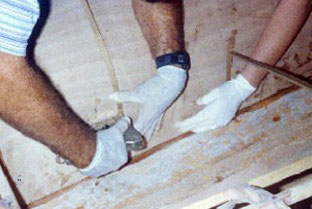
The pre-cut and dry fitted tank panel is stapled to the bottom of the tank beams near the floor.
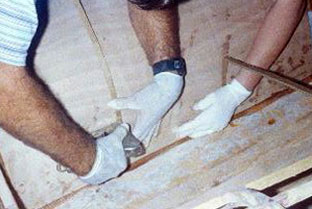
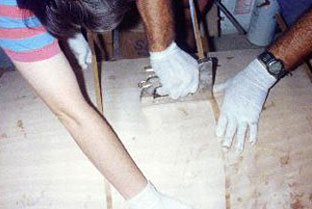
The bottom edge is stapled, held in place and the panel is bent to the tankbeams. Expect lots of staples: one about every two inches.
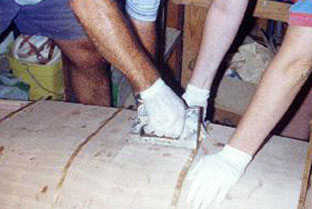
The tank panel is stapled onto the tank beams. Rubber gloves and extra hands make the job go smoother. Note how the staples are placed through thin strips of cardboard to prevent dimples in the ply when the staples are removed.
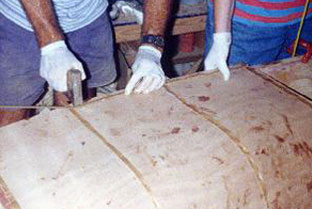
The tank panel is stapled to the gunwale too.
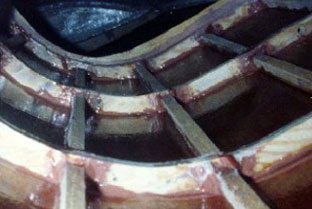
The inside of the tank after being stapled on. Note how the resin and microballoon mixture helps to ensure good panel to beam contact.
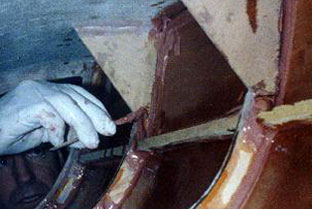
Immediately after the tank panel is stapled on, the boat is rolled upside down, and I run micro balloon fillets at each tank-deckbeam joint. Yes, that's me looking inside the tank. A light at the forward end helps visibility, but some of the fillets are done by feel.

